
Frosted Jar
So, I was making a gift this week and realized some of you may be interested in a little DIY! After making these jars, I have filled them with fresh flowers, branches, candles, colorful Christmas bulbs, autumn leaves, etc. The look is only limited to your imagination. Anyone feeling crafty!? Let’s do this!
Supplies:
– Jar of choice
– Contact paper or masking tape
– Exacto knife or utility/razor blade
– Rustoleum Frosted Glass spray paint
– Matte Polyurethane spray (optional)
Ok, so here is the gist:
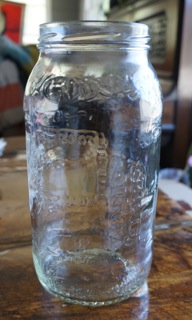
1. Find the jar you want to frost. Remove any stickers and wash it. Let it dry thoroughly.
*Also, check for date stamps on them, they can easily be removed with a q-tip and rubbing alcohol. (I forget this every time!)
2. Choose the word or phrase you want on the glass. You could also do a shape, pattern, or whatever your little heart desires. Also decide if you want to freehand the word/phrase or print it off, then do so in the size you want for the jar you have.
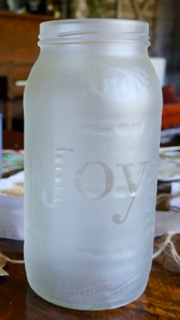
I chose the word “joy” in a font I liked and printed it off in the size that worked.
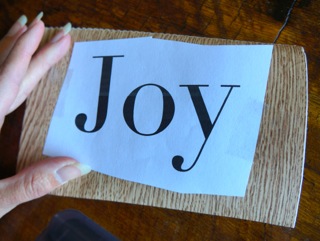
3. If you choose to print the word off, cut it down to fit it on a piece of contact paper. Then take an exacto knife or utility blade and cut around the words. If you are choosing to freehand, then just go at the contact paper and let your creativity fly! For those that feel all of this is too much work, you can definitely make block letters with masking tape straight onto the jar.

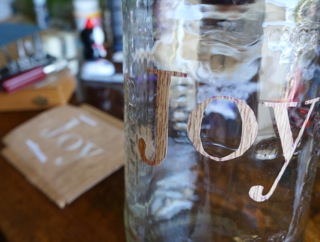
4. Peel back letters and place them how you want on the jar. If you are worried about alignment, peel back the surrounding contact paper, leaving the word on the backing, and then place strips of masking tape across the word gently. Then lift the tape and word off, place it on the jar and apply pressure to the word. Peel off the tape.
Make sure the word is firmly and smoothly attached to the jar.
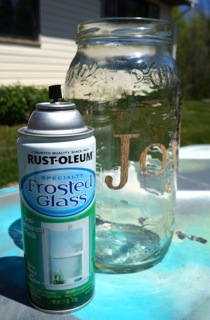
5. Time to find a well-ventilated area! Warmer days means this project is perfect for this time of year. Place the jar on a sprayable surface, and lightly spray a first coat of Frosted Glass on the jar. Key word: lightly. I tend to err on the side of liberal in regard to spray paint, but really the key to a win with spray paint is LIGHTLY!
I did two light coats for this jar.
6. Let it dry well and, if you would like, top with a layer of matte polyurethane spray.
7. After completely drying the jar, remove the letters gently. I like to place mine on a piece of wax paper for future projects.
8. Fill with whatever makes you smile and enjoy!!
(P.S. They make lovely gifts!)
What a great craft! I think that some of these jars would look beautiful in my home…and I can always use new vases 🙂